

This is a tutorial on how to make a vintage rosette. There are many tutorial out there to make rosettes, but they often just come out looking like a roll of fabric. This tutorial will teach you how to make a rosette that will anyone will love!
OK! To start off- You Need:
~A glue gun
~Some silky fabric that is not 100% silk. Regular cotton will work too, but then you wont get that fancy frayed look.
~A measuring thingie
~Fake, but really looking pearls

Begin by cutting a long strip of you chosen fabric with its width 2 inches. Plug your glue gun in.

Take the end of your fabric and glue it in a scrunch kinda form. I folded the fabric in half, glued it, then folded it again in half.

Bregan twisting the fabric, with making sure that the good part of the fabric (in may case, the silky part) is on the outside of the twist most of the time. For now, just ignore any stray strings that appear.
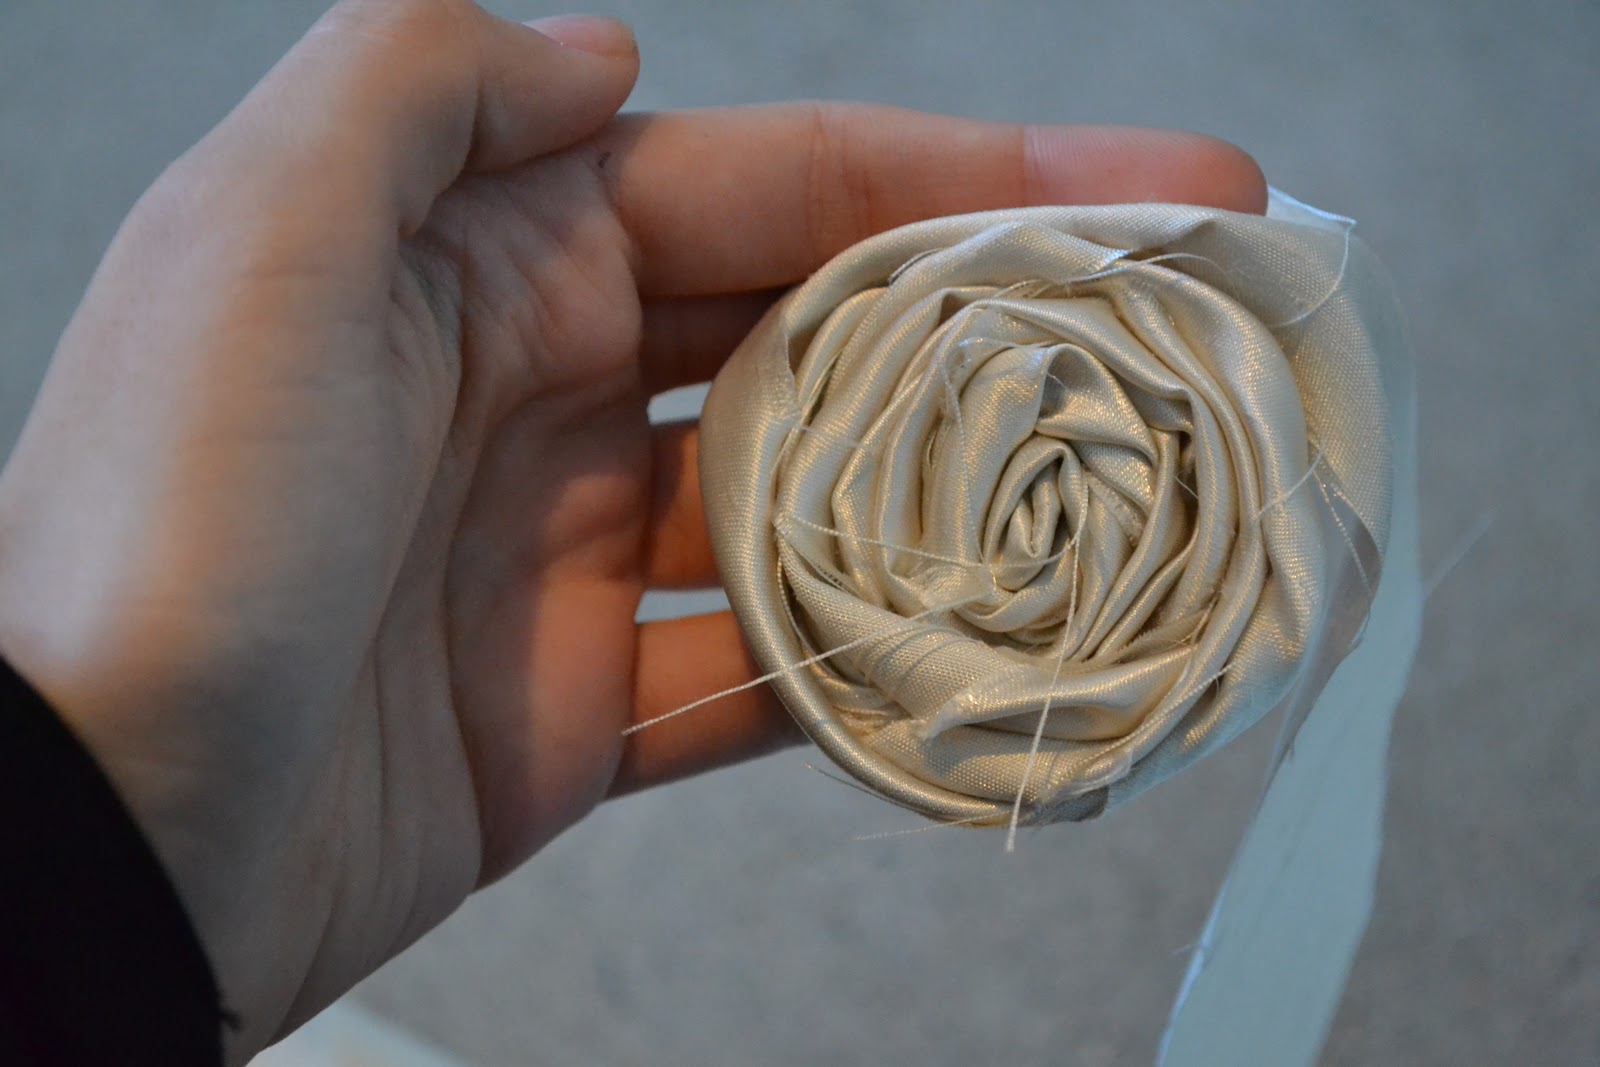
Keep rolling... ok done! Now, just fold the fabric left under the flower to "close it up," even though there really is nothing to close...

How ever you want to do your hair pin, or bobby pin, you can do. I took a oval piece of scrap fabric (felt works) and cut a little slit, then entered the clip. The photo is showing the good side of the clip

Now just glue that on to the back! In the photo, you can see that I hot glued some pearls on to the front. I don't like how the hot glue cam out, so next time I will hand sew the pearls on. It's your choice! :)

Did I mention that my favorite snack right now is mini marshmallows, cranberries, and gold fish all together?
Great tutorial! Beautiful flower!
ReplyDeletewww.youngnester.blogspot.com
Thanks! I had fun making it :)
ReplyDeleteAwesome!
ReplyDeleteSuch a cute Blog Following you :) Hugs!!
ReplyDeleteGreat tutorial, it makes pretty rosettes!
ReplyDeleteI think I'll give it a try!!!
ReplyDeleteThanks so much!
Denise
Ohhlala Very nice I might have to give it a try!
ReplyDeleteI've really been wanting to make one of these rosettes!
ReplyDeletehttp://inthehammockvintage.blogspot.com
Very pretty! Thanks for coming link up! I love these flowers but mine definately always come out looking like a cinnamon roll! lol
ReplyDeleteHi, Hannah! lovely rosette! thanks for linking up last week! hope to see you again this week! have a nice weekend!
ReplyDeletehttp://tosewwithlove.blogspot.com/2011/02/crafty-saturday-link-up-party-no-9.html
Prekrasan cvijet!!! Hvala za tutorijal :)))
ReplyDeleteLijep pozdrav iz Hrvatske!
hahaah my daughter will LOVE this snack! wink wink
ReplyDelete